
Step By Step Installations of SQL Server 2012 in windows server 2016 Domain Controller [DC]
Description : In this article we will learn how to successfully install SQL Server 2012 on Windows Server 2016. Our Windows server is primary domain controller that means already promoted as a domain controller. The very common problem we face is in step 6 and in that step we had a solution also. So below are the few steps along with screen shots………………….
Follow the below given Steps with screen shots for successful installations of SQL Server 2012 on Domain Controller
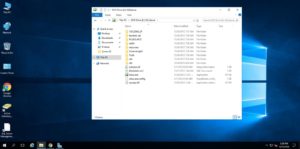
Step 1. Get SQL Server 2012 set up and double click setup.exe
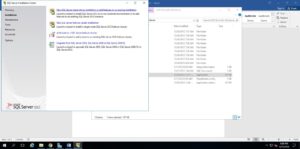
Step 2. Click installation & Click New SQL Server 2012 Stand Alone Installation
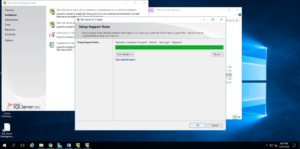
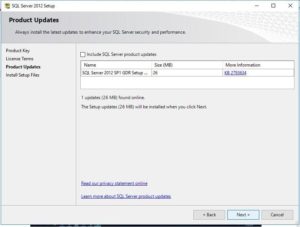
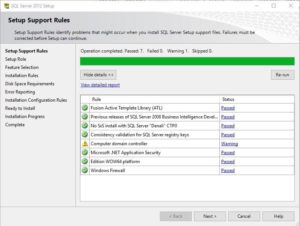
Step 3 Click next as shown below
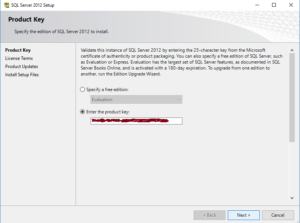
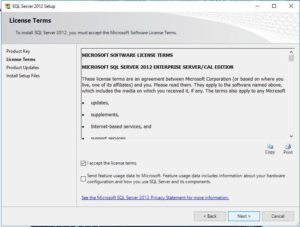
Step 4 Tick in I accept the license terms Tick Box and click next and further also next

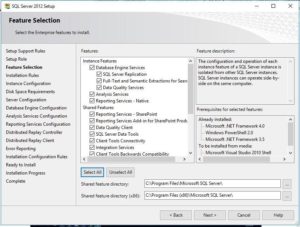
Step 5 In feature installations select the features for installations and further click next
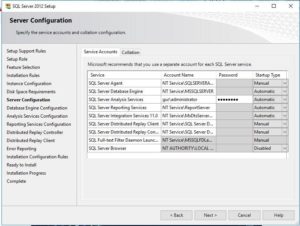
Step 6 In Domain controller SQL Server Analysis Service Account Name & Password cannot be blank, otherwise it will give error message as below
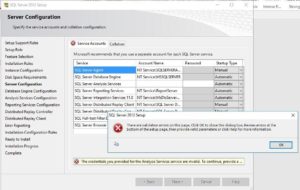
Give your domain name and administrator account & password and then click next as below
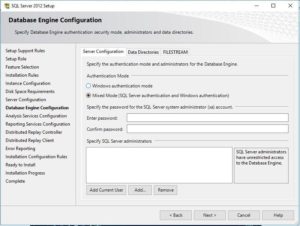
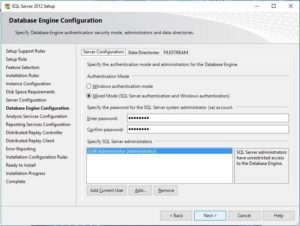
Step 7 If mixed mode is selected then enter password and add current user and click next
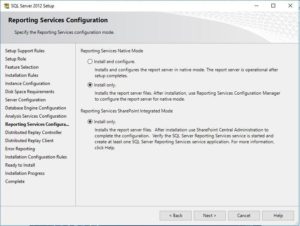
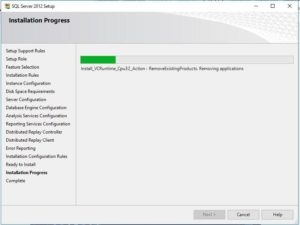
Step 8 Select install only & click next
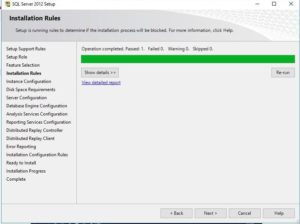
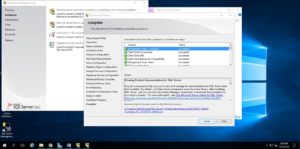
Step 9 Installation progress will finish itself and you will get message box named Complete shown in next image below and then click close
Step 10 After successful installations click management studio & click connect

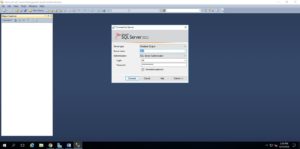
Your SQL Server management Studio is now ready
Thanks for Reading
Leave a Reply